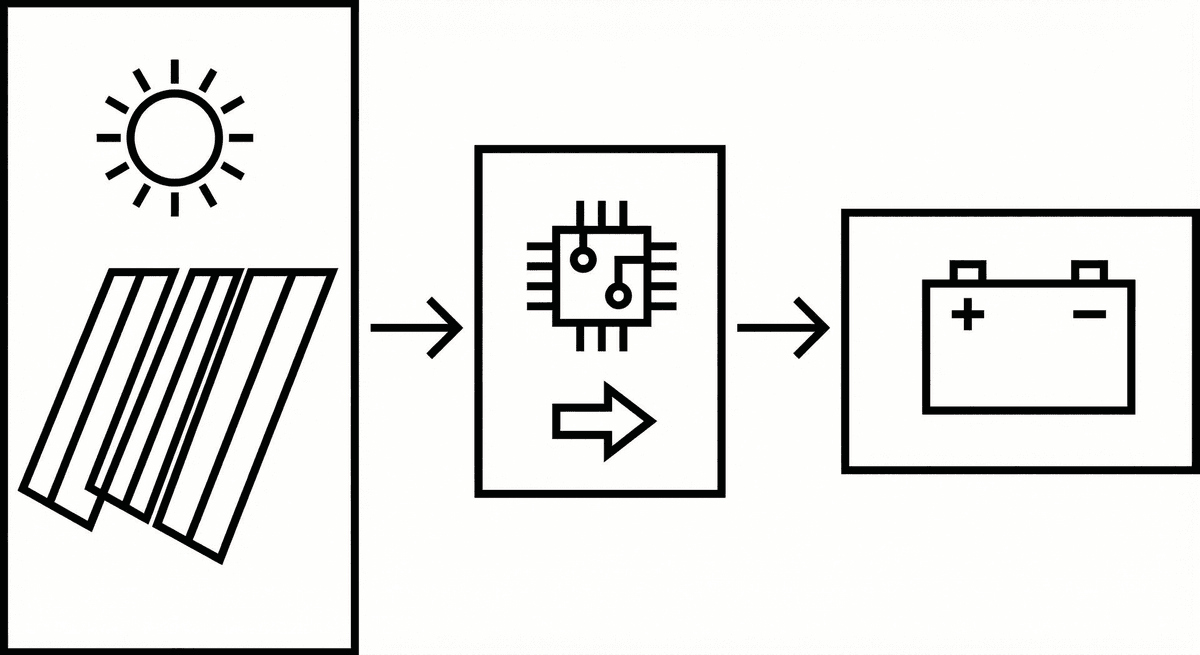
An MPPT (Maximum Power Point Tracking) charge controller turns panel output into the right voltage and current for your battery. Sizing it means matching array current and voltage to the controller’s limits. This guide shows you how.
Two Things to Size: Current and Voltage
1. Current (amps)
The controller must handle the maximum current from the array.
Array current (A) = Array power (W) ÷ Battery voltage (V)
Add a safety margin (e.g. 1.25×). Example: 800 W array, 24 V battery → 800 ÷ 24 ≈ 33 A; with margin, choose a 40 A or larger MPPT.
2. Voltage
The controller has a max input voltage (Vmp and Voc). Your panel string’s open-circuit voltage (Voc) in cold weather must stay under that limit. Panels in series add voltage; check the datasheet for Voc and temperature coefficient so winter cold doesn’t exceed the controller’s max.
Panel Strings and Voltage
Panels in series add voltage (same current). Panels in parallel add current (same voltage). MPPT allows higher array voltage than battery voltage, which keeps current lower on the array side and lets you use thinner cables. Configure strings so:
- Voc (cold) < controller max input voltage.
- Array current < controller max current (after conversion to battery side, the formula above is the battery-side current the controller must deliver).
Why MPPT Instead of PWM?
PWM vs MPPT: PWM is simpler and cheaper but doesn’t boost voltage. When panel voltage is much higher than battery voltage, PWM wastes energy. MPPT tracks the panel’s best operating point and is more efficient, especially in cloudy or cold conditions. For anything beyond a tiny single-panel setup, MPPT is usually worth it.
Summary
- Get array power (W) and battery voltage (V).
- Current = Array W ÷ Battery V; add margin and pick a controller rated at or above that current.
- Check that panel string Voc (in cold) is below the controller’s max input voltage.
Use the WattSizing calculator to get recommended array size and system voltage; then match an MPPT to that array and battery.


