To correctly size solar wire, you must calculate the maximum continuous current (Amps) the wire will carry, multiply it by a 125% safety factor as required by the National Electrical Code (NEC), and then select an American Wire Gauge (AWG) size with an ampacity rating that exceeds that number. Additionally, you must upsize the wire for long distances to prevent excessive voltage drop, which can cause equipment failure and severe efficiency losses.
When designing a solar energy system, one of the most critical—yet frequently misunderstood—components is the wiring. Using the wrong size wire between your solar panels, charge controller, batteries, and inverter isn't just inefficient; it's a massive fire hazard.
In the solar industry, wire size is measured in American Wire Gauge (AWG). The smaller the AWG number, the thicker the wire. Thicker wires can safely carry more electrical current without overheating.
In this comprehensive guide, we will explain exactly how to size the wires for every part of your solar system. We've included an easy-to-use AWG to Amps chart, explained the critical concept of "ampacity," and detailed how voltage drop affects your wire choices. If you want to automatically calculate the exact wire size for your specific setup, use our free WattSizing Calculator.
What is Ampacity?
Before looking at the chart, you must understand ampacity.
Ampacity is the maximum amount of electrical current (Amps) a conductor can carry continuously under the conditions of use without exceeding its temperature rating. If you push more amps through a wire than its ampacity rating allows, the wire will heat up. Eventually, the insulation will melt, and the wire could catch fire.
When sizing solar wires, your goal is to ensure the ampacity of the wire is always higher than the maximum current that will flow through it.
The Solar Wire Sizing Rule: The 125% Safety Factor
The National Electrical Code (NEC) requires a safety factor when sizing wires for continuous loads (like solar panels producing power for hours at a time).
You should never size a wire to run at 100% of its maximum ampacity. Instead, you must multiply the maximum expected current by 1.25 (a 125% safety factor) to determine the required wire ampacity.
Example Calculation:
- Maximum Current: Your solar array produces a maximum of 20 Amps.
- Apply Safety Factor: 20 Amps x 1.25 = 25 Amps.
- Required Wire: You must choose a wire that has an ampacity rating of at least 25 Amps.
Solar Wire Sizing Chart (AWG to Amps)
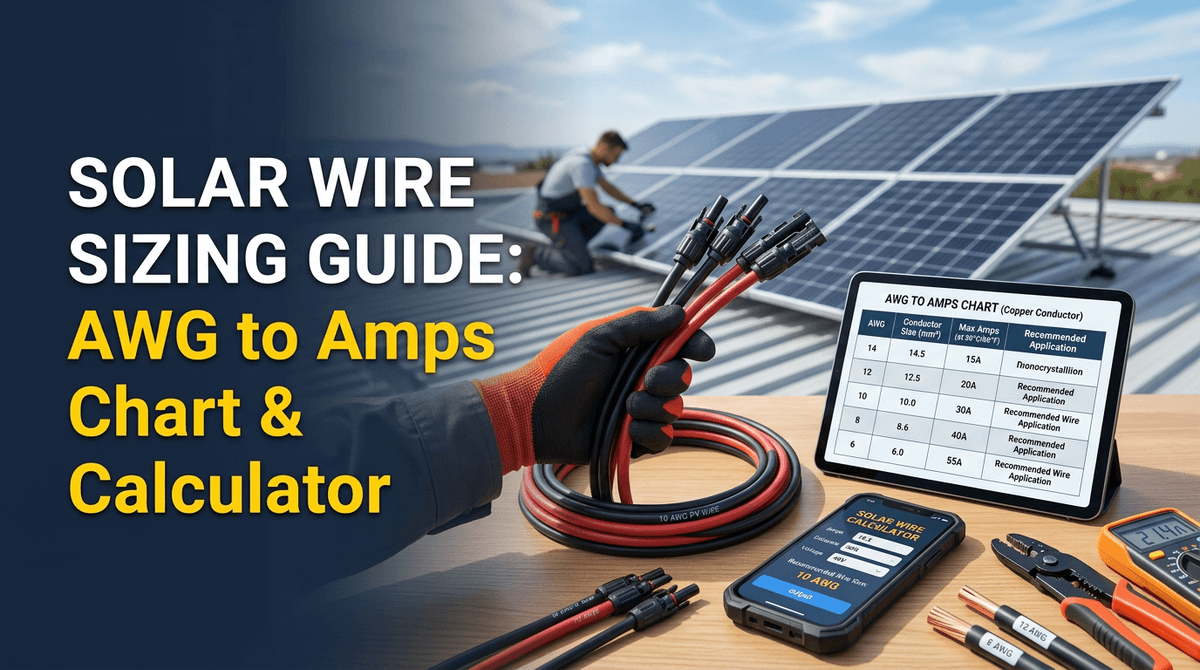
The following chart shows the standard ampacity ratings for copper wire with 90°C (194°F) insulation, which is the standard for most modern solar installations (like THWN-2 or PV wire).
Note: This chart assumes no more than 3 current-carrying conductors in a conduit and an ambient temperature of 30°C (86°F).
| Wire Gauge (AWG) | Maximum Ampacity (Amps) | Common Solar Application |
|---|---|---|
| 14 AWG | 15 Amps | Small, single-panel setups (under 100W) |
| 12 AWG | 20 Amps | Standard single panels, small parallel arrays |
| 10 AWG | 30 Amps | Standard PV wire from roof array to combiner box |
| 8 AWG | 55 Amps | Combiner box to charge controller (short runs) |
| 6 AWG | 75 Amps | Charge controller to battery bank |
| 4 AWG | 95 Amps | Small inverter to battery bank (1000W) |
| 2 AWG | 130 Amps | Medium inverter to battery bank (2000W) |
| 1/0 AWG | 170 Amps | Large inverter to battery bank (3000W) |
| 2/0 AWG | 195 Amps | Very large inverter to battery bank (4000W) |
| 4/0 AWG | 260 Amps | Massive inverter to battery bank (5000W+) |
Critical Sizing Factors Often Missed
Many DIY solar builders rely solely on standard ampacity charts and end up with underperforming or unsafe systems. When designing your wiring runs, you must account for several physical realities that basic charts ignore:
- The Double 125% Rule for Solar Panels: The wire running from your solar panels to your charge controller requires two safety factors. The NEC requires a 125% multiplier for continuous sunlight, plus another 125% multiplier for the wire ampacity. This means you must multiply your array's Short Circuit Current (Isc) by 1.56 (1.25 x 1.25) to find the correct wire size.
- Temperature Derating: The ampacity chart assumes an ambient temperature of 30°C (86°F). If your wires run through a hot attic or across a sun-baked roof where temperatures exceed 120°F, the wire's ability to shed heat decreases. You must apply a temperature derating factor, which often forces you to upsize the wire.
- Inverter Surge Demands: While you size the battery-to-inverter wire based on the inverter's continuous wattage, you must ensure the wire can also handle the inverter's peak surge wattage (often double the continuous rating) for short durations without severe voltage drop.
- Aluminum vs. Copper Resistance: Aluminum wire is cheaper but has higher resistance than copper. If you substitute aluminum wire for battery or inverter connections, you must significantly upsize the gauge, and you must use specialized anti-oxidant paste on the terminals to prevent fires.
Sizing Wires for Each Component of Your System
A solar energy system has three distinct wiring "runs," and each requires a different calculation.
1. Solar Panels to Charge Controller
This run carries the high-voltage DC power generated by your panels down to the charge controller.
- Calculation: Find the Short Circuit Current (Isc) rating on your solar panel's specification sticker. Multiply this number by the number of panels wired in parallel. (Panels wired in series increase voltage, not amperage).
- Safety Factor: Multiply the total parallel Isc by 1.56.
- Standard Wire: Most modern solar panels come with 10 AWG PV wire pre-installed, which is rated for 30 Amps.
2. Charge Controller to Battery Bank
This run carries the regulated DC power from the charge controller into the batteries.
- Calculation: Look at the maximum output rating of your charge controller (e.g., a 60 Amp MPPT controller).
- Safety Factor: Multiply the controller's max output by 1.25.
- Crucial Rule: This wire run should be as short as physically possible (under 5 feet) to minimize voltage drop.
3. Battery Bank to Inverter
This is the most critical and dangerous wire run in your entire system. Inverters pull massive amounts of low-voltage DC power, resulting in extremely high amperage.
- Calculation: Divide the inverter's maximum continuous wattage by the battery bank voltage. Then divide by the inverter's efficiency (usually 0.85).
- Safety Factor: Multiply the result by 1.25.
Illustrative Worked Example: Sizing an Off-Grid Cabin
Note: The following calculation is illustrative and uses hypothetical numbers to demonstrate the math.
Let's size the critical wire run between a 12V battery bank and a 3000W pure sine wave inverter for an off-grid cabin.
- Calculate Maximum Continuous Current:
- Inverter Wattage = 3000W
- Battery Voltage = 12V
- Inverter Efficiency = 85% (0.85)
- Calculation: (3000W ÷ 12V) ÷ 0.85 = 294 Amps.
- Apply the NEC Safety Factor:
- 294 Amps × 1.25 = 367.5 Amps.
- Select the Wire Size:
- Looking at our ampacity chart, even massive 4/0 AWG wire is only rated for 260 Amps.
- Because 367.5 Amps exceeds standard single-wire capacities, this system requires two runs of 2/0 AWG wire wired in parallel (195A + 195A = 390A capacity), or upgrading the entire system to a 24V or 48V battery bank to halve the amperage.
The Silent Killer: Voltage Drop
Even if you select a wire that can safely handle the amperage (based on the chart above), you might still need to use a thicker wire due to voltage drop.
Voltage drop occurs when electrical current travels through a wire. The longer the wire, the more resistance it has. This resistance causes the voltage at the end of the wire to be lower than the voltage at the beginning.
Why Voltage Drop Matters
- Efficiency Loss: If you lose 10% of your voltage between the panels and the charge controller, you are losing 10% of your solar energy as heat.
- Equipment Failure: Inverters and charge controllers require a specific voltage to operate. If the voltage drops too low, the equipment will shut down or fail to charge the batteries properly.
The Voltage Drop Rule of Thumb
As a general rule in solar design, you should aim for:
- Less than 2% voltage drop between the panels and the charge controller.
- Less than 1% voltage drop between the charge controller, batteries, and inverter.
To fix voltage drop over long distances, you must "upsize" the wire. By using a thicker wire (a lower AWG number), you decrease the resistance. To calculate the exact voltage drop for your specific wire length and amperage, use our WattSizing Calculator.
FAQs
What happens if I use a wire that is too small?
If the wire is too small for the amperage, it will act like a resistor. It will heat up, melting the insulation and potentially causing an electrical fire. Even if it doesn't catch fire, the severe voltage drop will cause your inverter to shut down and your batteries to chronically undercharge.
Can I use a wire that is too large?
Electrically, no. Using a thicker wire than necessary (e.g., using 4 AWG when 10 AWG is required) is perfectly safe and will actually improve your system's efficiency by reducing voltage drop to near zero. The only downsides are cost and physical difficulty (thick wire is hard to bend and may not fit into the terminals of your equipment).
What is PV Wire?
Photovoltaic (PV) wire is a specific type of single-conductor wire designed specifically for connecting solar panels. It has extra-thick, UV-resistant, and weather-resistant insulation designed to withstand decades of exposure to harsh sunlight, rain, and extreme temperatures on a roof.
Do I need to fuse my wires?
Yes, absolutely. Every wire run in your system should be protected by a fuse or circuit breaker. The fuse must be sized to protect the wire, not the equipment. If a wire is rated for 100 Amps, the fuse should be no larger than 100 Amps. If a short circuit occurs, the fuse will blow before the wire melts.
Does the insulation temperature rating matter?
Yes. The ampacity chart above assumes 90°C (194°F) insulation. If you use cheap wire with 60°C insulation, it cannot safely carry as many amps because the insulation will melt at a lower temperature. Always check the temperature rating printed on the wire jacket.
Conclusion
Proper wire sizing is not a suggestion; it is a critical safety requirement for any solar installation. By understanding ampacity, applying the 125% safety factor, and accounting for voltage drop over long distances, you can design a system that operates efficiently and safely for decades.
Always remember: when in doubt, upsize the wire. A thicker wire will never hurt your system, but a wire that is too thin can cause catastrophic failure.
Ready to take the guesswork out of your solar design? Head over to the WattSizing Calculator to instantly determine the exact AWG wire size, fuse size, and voltage drop for your specific off-grid or grid-tied solar project.


